First Software Configuration
安装后首次启动软件配置 1Click 软件。第一次配置有全程引导,使得用户可以在短短几分钟内进行扫描和发送文件。
设置配置文件
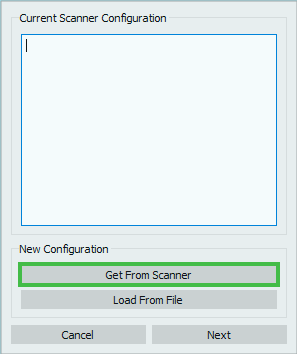
该过程的第一步允许设置扫描器的配置文件。配置文件保存用户特定扫描器各个组件的所有信息,因此对系统的功能至关重要。
要进行设置,请确保扫描器已正确连接并打开,然后单击“从扫描器获取”按钮以自动加载。
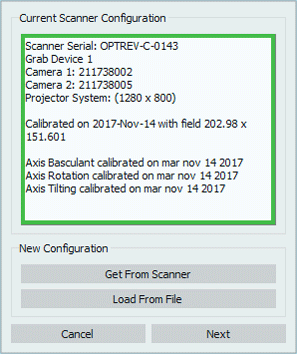
一旦文件已成功加载,将在框中显示:
- 扫描器的序列号
- 扫描器的组件
也可以使用“从文件加载”按钮加载外部文件的配置,尽管这种操作极少执行(例如,如果 Open Technologies 必须修改该扫描器的配置文件,而部文件不再有效)。
单击对话框中的下一步,按照配置进行操作,单击“取消”中止。
系统校准
以下步骤从光学头开始进行系统校准,然后校准移动系统。
头校准
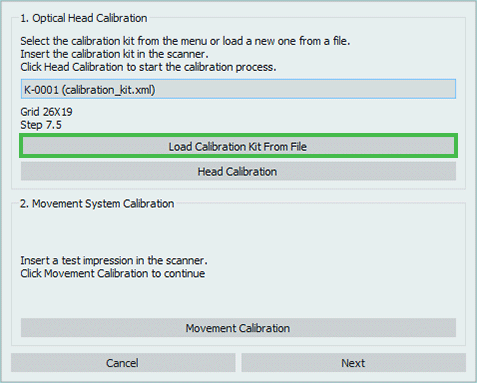
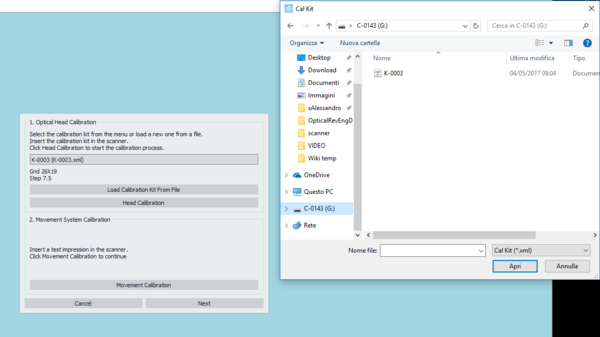
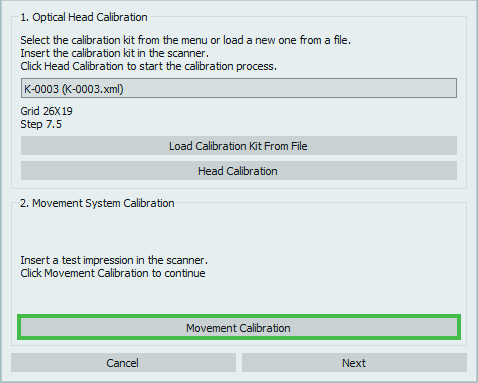
校准套件的 .xml 文件加载才能继续,通过单击从文件加载校准套件按钮来加载。
该 .xml 文件可以在扫描仪的内部存储器中找到,由计算机识别,就像是一个 Usb 闪存驱动器。
注意:检查确保文件的数量和您在配件箱中的板数一致。如果不一致,请在校准前联系您的经销商
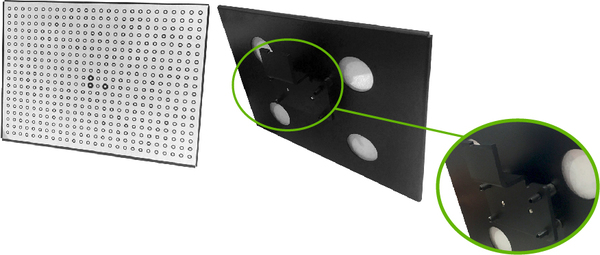
要将校准板插入扫描仪中,只需拉动将板背面上的黑色支架分离,因为它们是使用磁铁固定的。
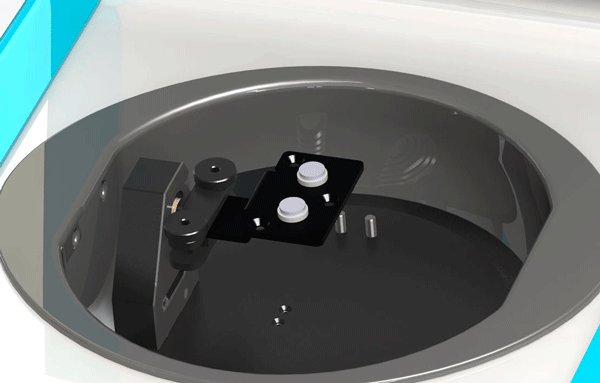
松开压印模的两个螺钉,并插入主支架,尽可能拧紧螺钉以适当固定。
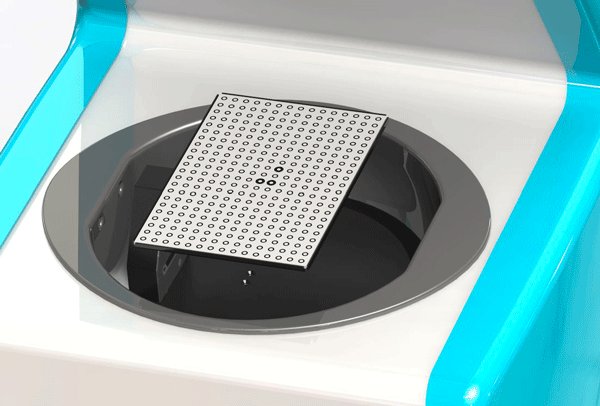
将校准板放在扫描器中,放置时注意,一个粗点部分位于左侧,两个粗点部分位于右侧。
单击 头校准 开始校准。
移动系统校准
按照移动系统校准,在扫描仪中插入图像,如图所示,然后单击移动校准
单击对话框中的下一步,按照配置进行操作,单击“取消”中止。
设置修整
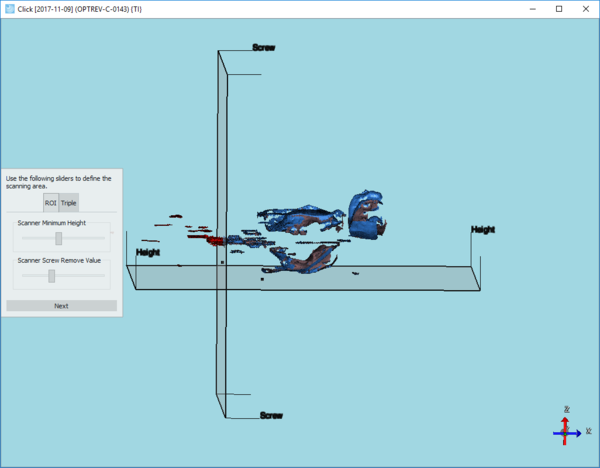
在此步骤中,用户可以配置一个自动修整,从而自动清除位于扫描高度平面下的所有信息。
移动对话框中的滑块来修改扫描高度,特别注意不要碰撞印模的重要部分。
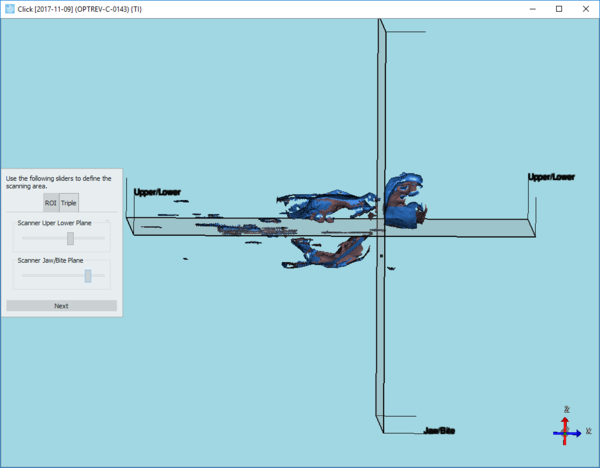
Then, if the Triple Impression Module is enabled in your license, click on the second tab Triple and move the sliders to establish the cut planes to separate the elements (upper from lower and individual from bite)
单击对话框中的下一步以结束第一次配置过程。
Access Calibration after first Configuration
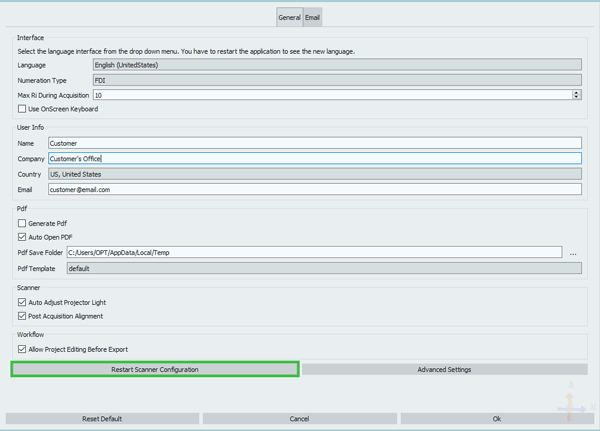
Should it be needed, it is possible to repeat the calibration even after the first configuration of the system simply by accessing the options in the welcome page using the Option Button .
In the first Option Page, General, simply click Restart Scanner Configuration to restart the calibration procedure.
