Difference between revisions of "Software Configuration/it"
(Created page with "Il primo passaggio del processo permette di impostare il file di configurazione dello Scanner. Il file di Configurazione contiene tutte le informazioni dei componenti dello sp...") |
(Created page with "Per impostare il file di configurazione, assicurarsi che lo scanner sia correttamente connesso e acceso, quindi cliccare sul pulsante ''Ottieni da Scanner''' per il caricament...") |
||
| Line 9: | Line 9: | ||
[[File:LoadConf.PNG]] | [[File:LoadConf.PNG]] | ||
| − | + | Per impostare il file di configurazione, assicurarsi che lo scanner sia correttamente connesso e acceso, quindi cliccare sul pulsante ''Ottieni da Scanner''' per il caricamento automatico. | |
[[File:LoadedConf.PNG]] | [[File:LoadedConf.PNG]] | ||
Revision as of 10:16, 9 June 2017
Warning: Display title "First Software Configuration" overrides earlier display title "Configurazione del Software".
Al primo avvio dopo l'installazione è necessario configurare il software 1Click. Questa prima configurazione è completamente guidata e permette all'utente di essere immediatamente operativo e inviare i file nel giro di qualche minuto.
Contents
Impostare il File di Configurazione
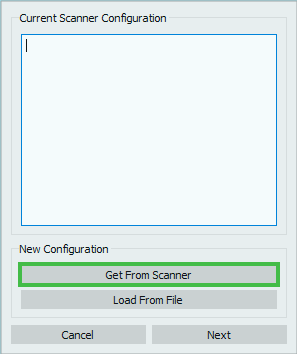
Il primo passaggio del processo permette di impostare il file di configurazione dello Scanner. Il file di Configurazione contiene tutte le informazioni dei componenti dello specifico scanner, quindi è essenziale per il corretto funzionamento dello scanner.
Per impostare il file di configurazione, assicurarsi che lo scanner sia correttamente connesso e acceso, quindi cliccare sul pulsante Ottieni da Scanner' per il caricamento automatico.
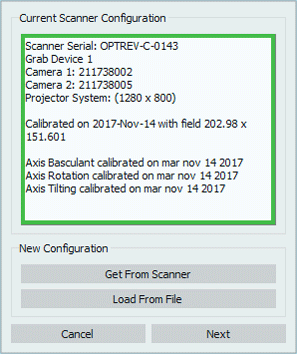
Once the file has been succesfully loaded, in the box will be shown:
- the scanner's serial number
- the scanner's components
It is also possible to load a configuration from and external file, using the button Load From File, though this kind of operation will be performed in very rare cases (for instance if Open Technologies had to modify the configuration file of the scanner and the internal file is no longer valid).
Click next in the dialog to follow with the configuration, click Cancel to abort.
System Calibration
The following step is the System Calibration starting with the Optical Head and then calibrating the movement system.
Head Calibration
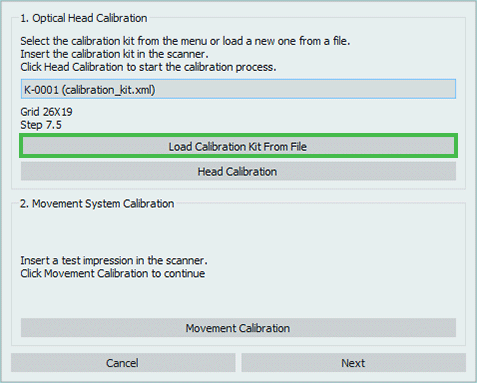
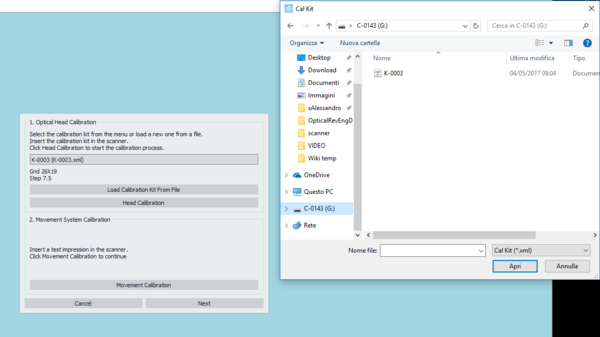
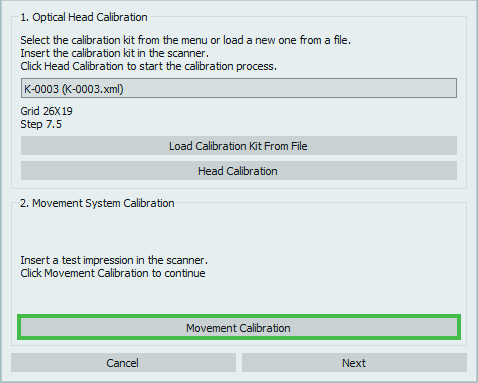
In order to proceed, the calibration kit .xml file must be loaded, by clicking on the buttonLoad Calibration Kit from File.
This .xml file can be found in the scanner's internal memory, identified by the computer as if it were a Usb flash drive.
NOTE: CHECK THAT THE NUMBER OF THE FILE AND THE NUMBER OF THE PLATE YOU HAVE IN THE ACCESSORIES BOX COINCIDE. IF THEY DO NOT CONTACT YOUR DEALER BEFORE CALIBRATING
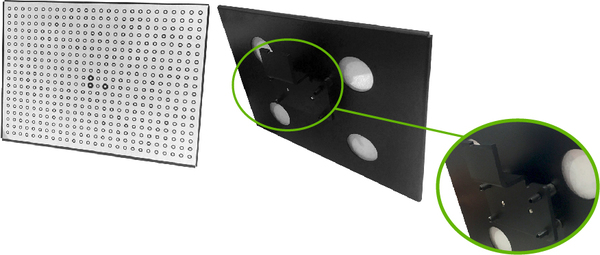
To insert the calibration plate in the scanner, detach the black support on the back of the plate simply by pulling, as it is held by magnets.
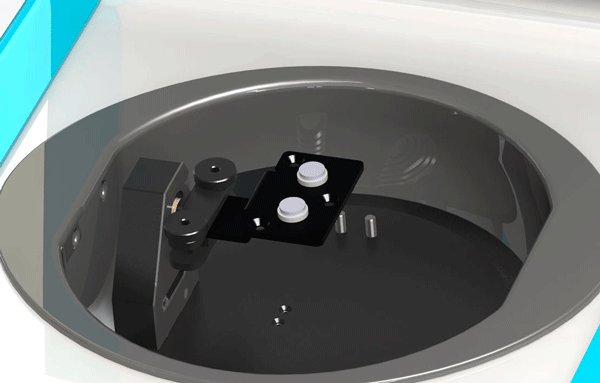
Release the two screws of the impression holder and insert the master support, tightening the screws as much as possible to fix it properly.
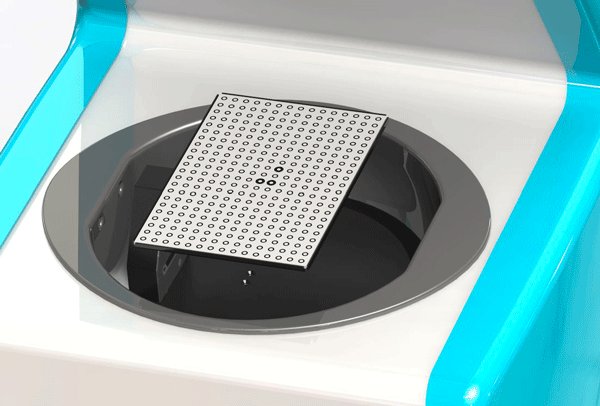
Place the calibration plate in the scanner taking care in positioning it keeping the part with one bold dot on the left and the side with two bold dots on the right.
Click the button Head Calibration to start calibration.
Movement System Calibration
To follow with the movement system calibration insert an impression in the scanner as shown in the image and click on the button Movement Calibration
Click next in the dialog to follow with the configuration, click Cancel to abort.
Set the Trimming
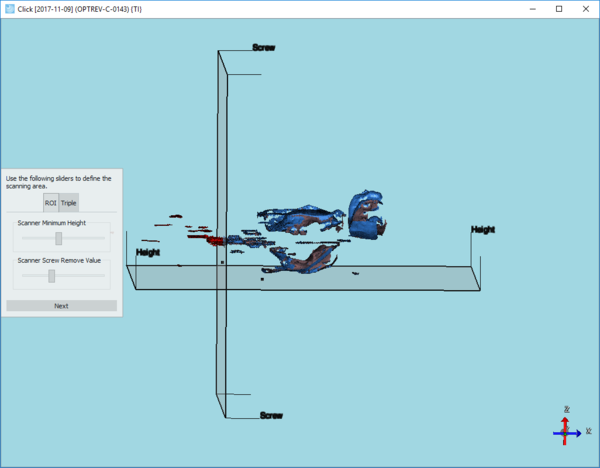
In this step the user can configure an automatic trimming that will automatically erase all the information located under the scan height plane.
Move the slider on the bar in the dialog to modify the scan height, taking particular care in not colliding with essential parts of the impression.
Click next in the dialog to end the first configuration procedure.
