Export and Upload
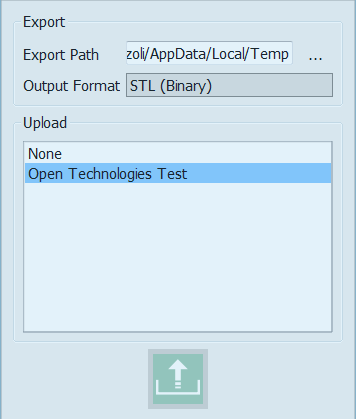
The end of the scanning procedure leads directly to the Export and Upload dialog.
Export
The first part of the dialog, Export, regulates how the files are exported locally.
The default Export Path can be set in the Option Panel-General, otherwise any other folder can be chosen for the individual project.
Follows the choice of the File Format; 1Click supports the following formats:
- 'OpenTechnologies' : this export function will create a file (.cri) for every 3D image taken by the scanner and an additional file (.scan) with a data description. It can be used only by OpticalRevEng Dental and all the files need to be kept together.
- 'STL ASCII/Binary' : the STL file format is the most used. Most of the 3D software can read/save STL files. It does not save all the information of the 3D Objects, such as their color or the connection between every single face, therefore two different software can read the same STL file and show different results.
- 'OFF ASCII' : the OFF format is a really simple file format as described here [OFF Format]. It keeps more information than the STL format.
- 'PLY ASCII/Binary' : the PLY format, as the OFF format, can contain more information about the 3D data but is not so well supported by other software.
- 'OBJ' : The OBJ format is only ASCII, it can keep the most information about the 3D data, even the color, and is compatible with most softwares.
If maximum compatibility is needed, the best format to use is the STL. If the objective is to keep the most accurate 3D data, the OBJ format is better.
Upload
The second part of the dialog allows the user to choose to which partner to upload the files to be designed.
The available profiles are the ones that were previously set in the Option Panel-Uploads.
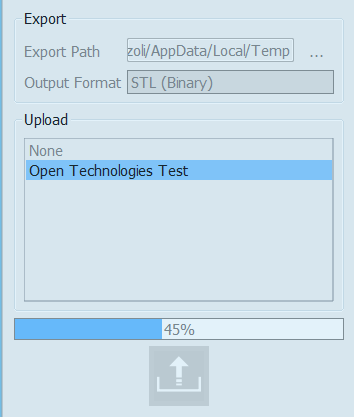
Choose a profile to upload to and click on the upload button
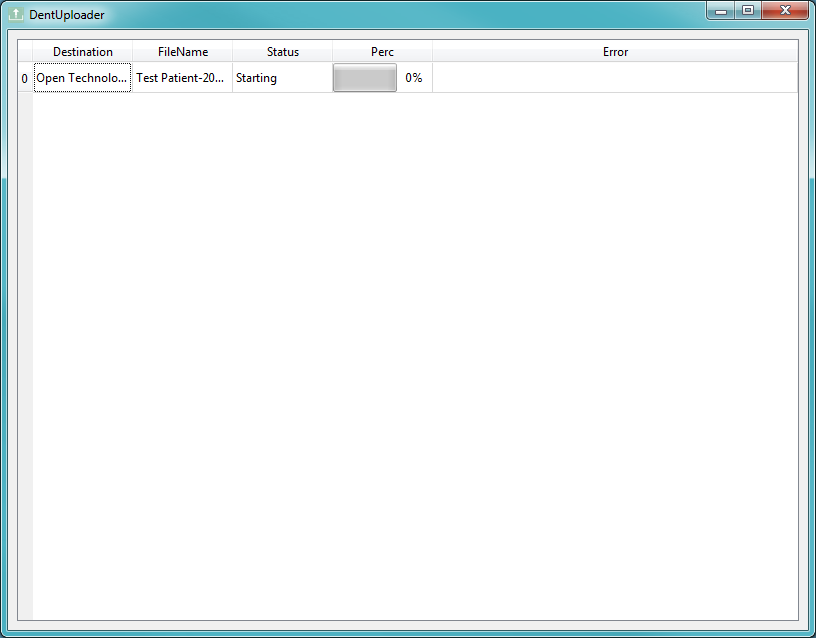
As soon as the upload progress bar is finished a pop up message will appear on the bottom right corner of the monitor. By double clicking on the message or on the upload icon the Dental Uploader opens.
The Dental Uploades allows to check the progress of all uploaded data.


