Wizard
Interfaccia
A seguito della definizione del progetto il Wizard si avvia.
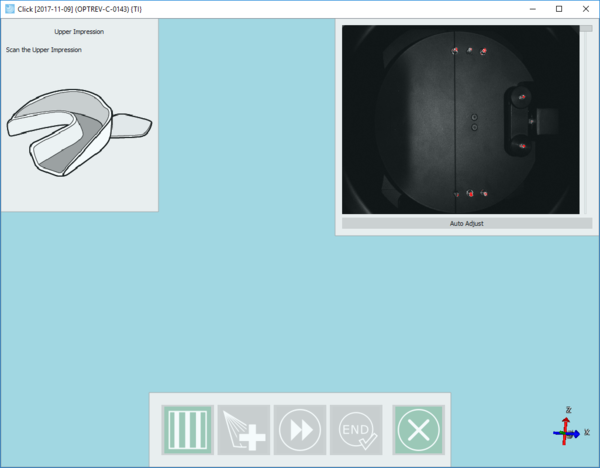
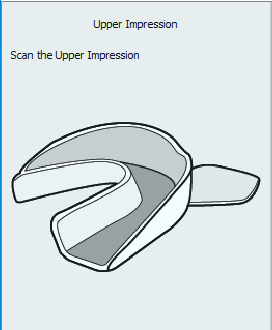
L'interfaccia principale è semplice ed intuitiva; nell'angolo in alto a sinistra c'è il passaggio guidato che mostra la descrizione dell'oggetto da scansionare insieme ad un'immagine esemplificativa.
Il Wizard si compone a seconda del workflow che è stato scelto durante la fase di definizione del progetto.
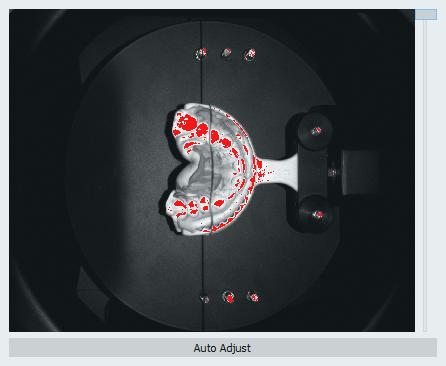
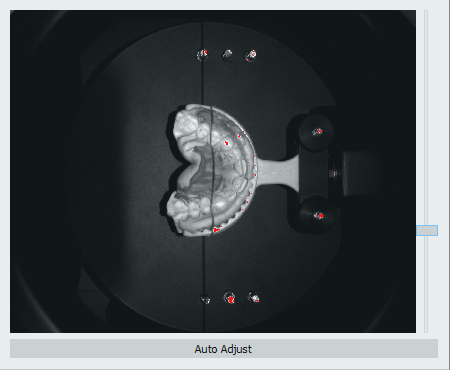
Nell'angolo in alto a destra c'è una vista live delle telecamere che può servire per correggere l'intensità della luce a seconda dell'oggetto che deve essere scansionato. Nell'immagine seguente, un sempio dell'intensità della luce: le parti in rosso sono le parti dell'impronta difficili da scansionare con quel tipo di luce.
Per correggere l'intesità della luce cliccare sul pulsante Aggiustamento Automatico sotto la finestra live delle telecamere.
Inoltre, è possibile aggiustare manualmente la luce utilizzando il cursore a fianco.
Finally, on the bottom part of the interface there is the ation bar from which the user can decide which action to take during the wizard.
Here is the bar as shown at the beginning of the wizard.
At the beginning of the wizard the only two actions available are the scanning icon and the Exit button {Inline button|Quit.PNG}}.
Scan Project
To start the scan project click on the icon; three icons green, yellow and red will show, each one represents a scanning strategy
Easy
- Few scans and low scan strength. The scan is faster but holds less details of the impression;
Medium
- Medium number of scans and medium scan strenght. The scan is slower than the easy strategy but the image is more detailed.
Hard
- High number of scans and hard scan strength. The scan is as detailed as it can be but it will be slower.
Choose one of the three strategies to start scanning.
As soon as the scan procedure is over other two icons of the action bar will become available.
If the project is an individual impression the available icon will be the End icon.
Alternatively, if in the project need to be scanned two or more impression, the next available icon will be the Add Image Icon.
To add images to the acquired impression, turn the scan untill the spot that needs to be filled is completely visible and click on the Add Image button . Repeat the operation until satisfied with the result.
Then, if there are other impression to be scanned click the Next button .
Repeat the scan process seen before for all the impressions that need to be scanned.
When all impression have been scanned the End button will become available. This button closes the scanning procedure and starts the Export and Upload Procedure


