Export and Upload
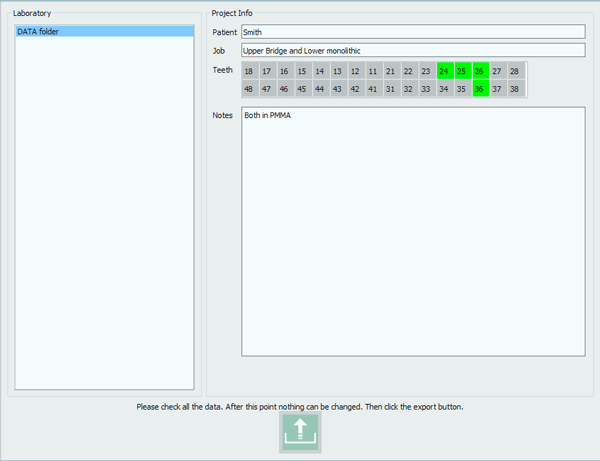
The end of the scanning procedure leads directly to the Export and Upload dialog.
Export
The first section of the dialog, Laboratory, allows the user to choose to which partner to upload the files to be designed.
The available profiles are the ones that were previously set in the Option Panel- Uploads, available for changes for all Open Technologies Resellers.
The second and bigger section shows the initial project definition that, at this point, can be changed.
When the partner has been chosen and the project information confirmed, click on the upload button to export the files and send them to the dental Uploader.
Uploader
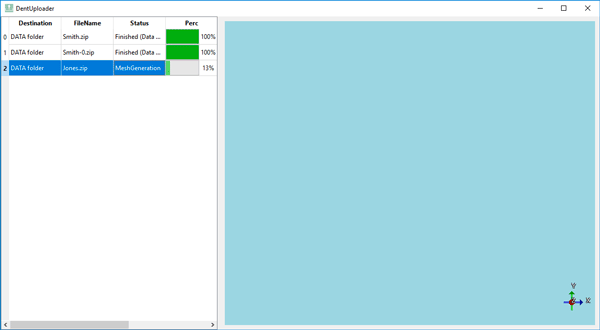
The Dental Uploades allows to check the progress of all uploaded data. It is available in the windows application bar and works in background so that the user can continue scanning even if the files of the previous job is still being processed.
The Dental Uploader is divided in two section, the first holds the export information like the destination folder, the file name and the upload status. The second one shows the exported final file, which will be positive and ready to be used in a cad.


